Hi! I’m Maria from @crybabys_basement and I’m collaborating with Solanum to introduce you to the magical world of dicemaking.
Be ready, it will get messy.😉
🎲 Crafting Dice: From Start to Finish 🎲
Creating custom dice isn’t just a hobby—it’s an art! Let me guide you through the process step-by-step so you can see the magic unfold.
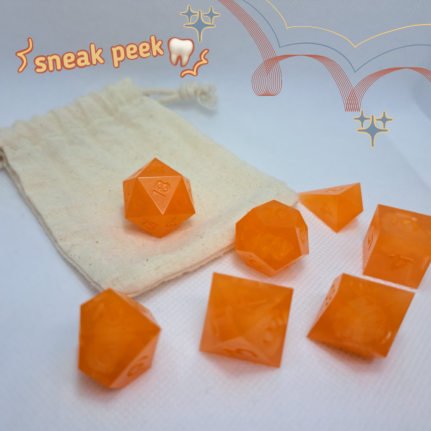
1️⃣ The Finished Product:
Here’s a sneak peek of the final result: shiny, colorful, and ready to roll! (Slide to see how it’s made!)
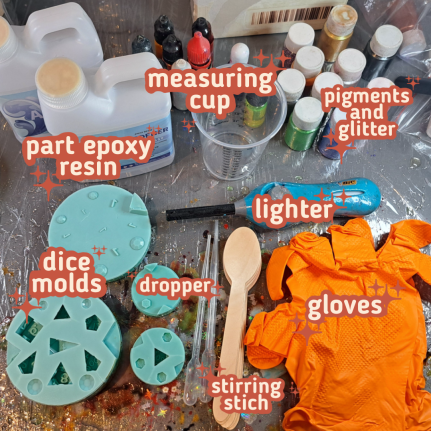
2️⃣ Materials You’ll Need:
- Epoxy resin
- Silicone molds
- Pigments, mica powders, glitter
- Mixing cups and stir sticks
- A pressure pot (for bubble-free perfection!)
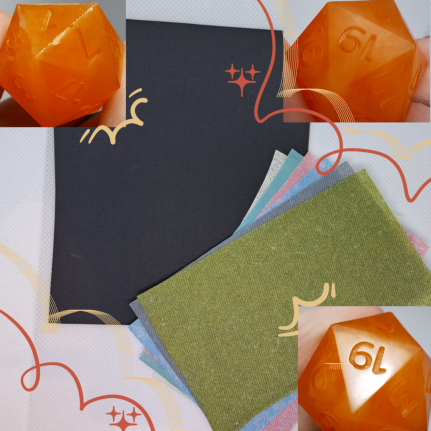
- Sandpaper (I use ZONA Papers) Acrylic paint or metallic markers
3️⃣ The Technique:
‼️Pro tip: Always work in a well-ventilated area and use gloves for safety!‼️ Start by mixing your resin according to the instructions. Add pigments, glitters, or even fun inclusions like dried flowers. Mix thoroughly but slowly to avoid bubbles.

4️⃣ The Process:
Carefully pour the resin into your molds, one layer at a time if you’re going for intricate effects. Use lighter to pop the bubbles.
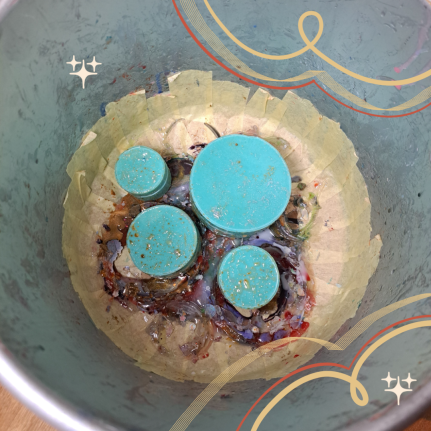
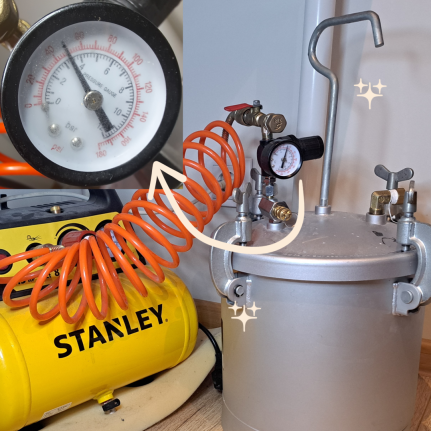
5️⃣ Into the Pressure Pot:
Place the filled mold into a pressure pot. This removes microbubbles and ensures crystal-clear dice. Let it cure for the recommended time (usually 12–24 hours).
6️⃣ Sanding and Polishing:
Once cured, pop the dice out of the mold! Sand down any imperfections starting with coarse grit and working up to fine-grit sandpaper for a mirror finish. Polish the dice for extra shine, and paint the numbers using acrylics.
And you’re done! 💫
Your handmade dice are ready to shine on your next game night! Which design would you try first? Let me know in the comments!
Cover: @creseas_yes_thk
Edit: @crybabys_basement